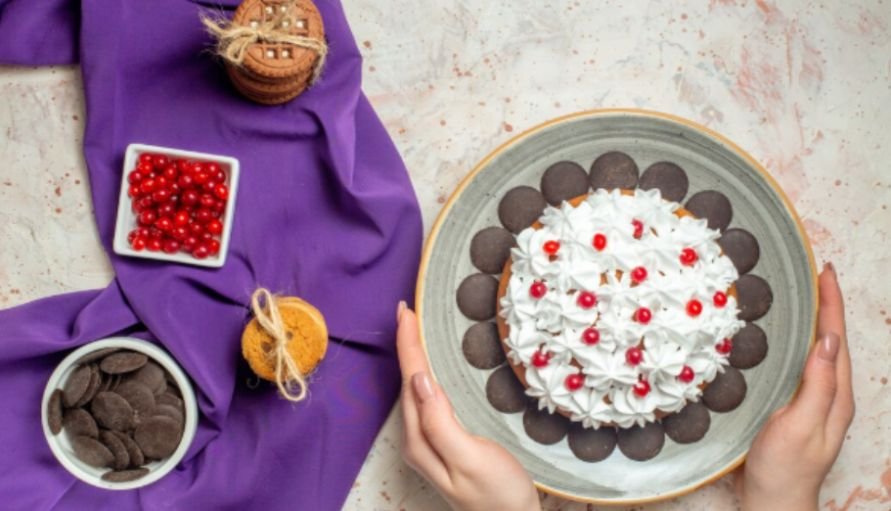
A dessert table can turn a simple gathering into something festive, polished, and memorable. I love this setup because it does not require professional rentals or a huge decorating budget.
Once I learned how to create a beautiful dessert table at home, I realized the biggest difference comes from smart arrangement, not excess. A clear color palette, one focal dessert, varied heights, and a carefully chosen mix of treats can make even a small table look beautifully styled.
Start With a Theme and Color Palette
Choose the mood before buying desserts or decorations. A birthday may suit bright colors, while a shower or dinner party may look better with softer shades.
Stick to two or three main colors. Repeat them through the tablecloth, napkins, flowers, cake details, backdrop, and serving pieces. Limiting the palette keeps the display cohesive instead of crowded.
Pick the Right Location
Choose a dining table, kitchen island, sideboard, or console where guests can approach easily without blocking a walkway.
A clean wall behind the table gives you room for a backdrop. Natural light helps photos, but keep chocolate, buttercream, whipped cream, and chilled desserts away from direct sun or heat.
Create a Simple Backdrop
A backdrop gives the display a finished look. Fabric, paper fans, streamers, greenery, balloons, framed art, or a removable garland can all work.
If the sweets are colorful, use a quieter background. If the desserts are simple, let the backdrop add visual interest.
Choose One Hero Dessert
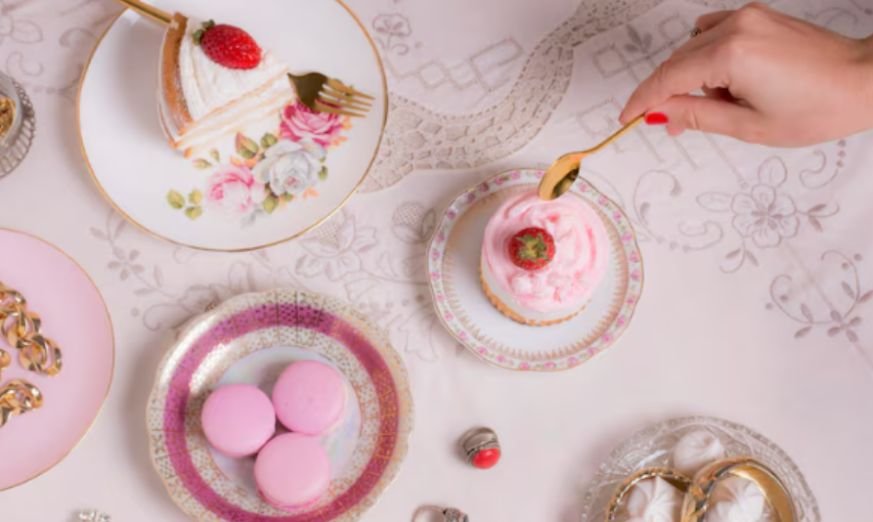
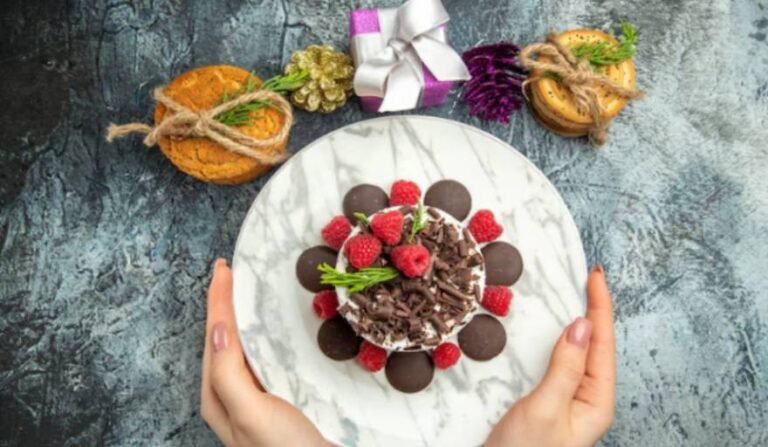
Every attractive dessert table needs a focal point. A cake is the easiest choice, but a cupcake tower, pie, trifle bowl, stacked cookies, or floral arrangement can work too.
Place it near the center for balance or slightly off-center for a relaxed look. It should be the first thing guests notice.
Add Height for a Professional Look
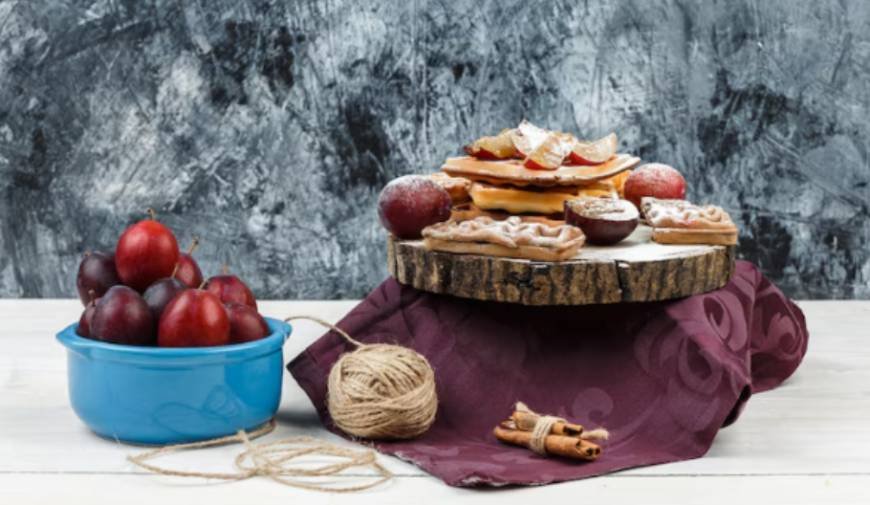
Desserts arranged at one level can look flat. Use cake stands, tiered trays, wooden boards, sturdy boxes hidden under fabric, or upside-down bowls beneath platters.
Keep taller pieces toward the back, medium-height dishes in the middle, and low trays near the front. Make sure everything remains easy to reach.
Arrange Everything From Back to Front
Start with the backdrop and tallest decorations. Add the main cake next. Position tiered stands and medium-height sweets around it, then place cookies, brownies, bars, candies, and other low treats toward the front.
Keep plates, forks, napkins, and serving utensils at one side or both ends. Leave some empty space so the table feels abundant without appearing overloaded.
Choose Desserts With Variety
You do not need ten kinds of sweets. One main dessert with two or three supporting choices is usually enough.
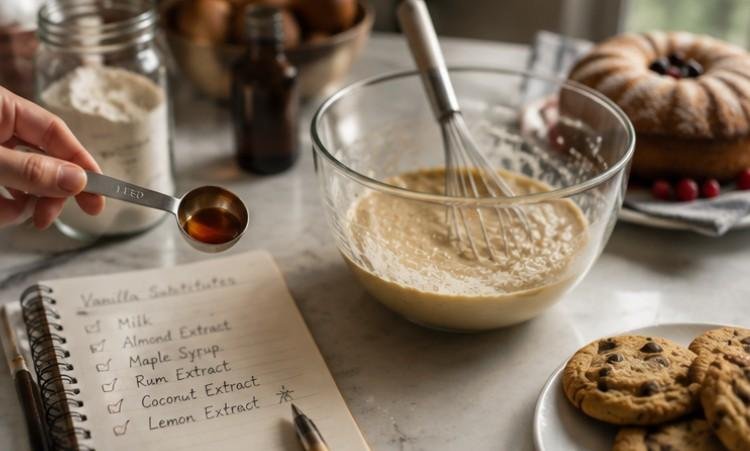
If you are making the treats yourself, starting with easy dessert recipes for beginners can keep preparation manageable while still giving the table plenty of variety. Simple brownies, cookies, bars, and chilled desserts are especially useful because they can be prepared without advanced decorating or baking techniques.
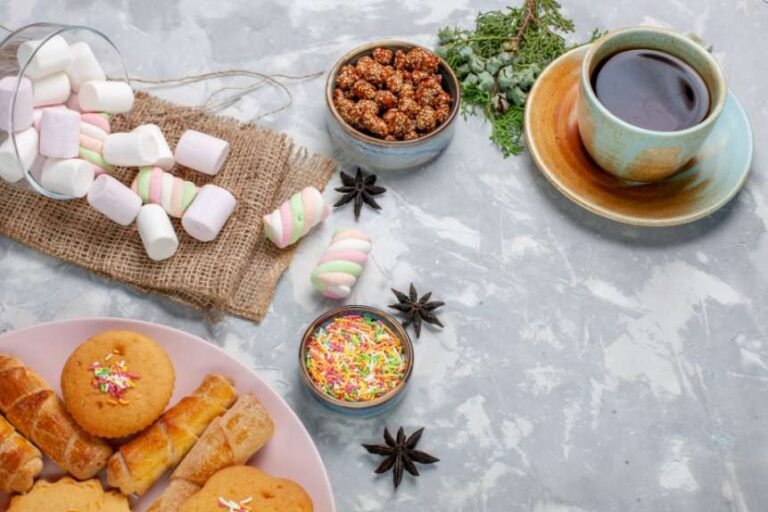
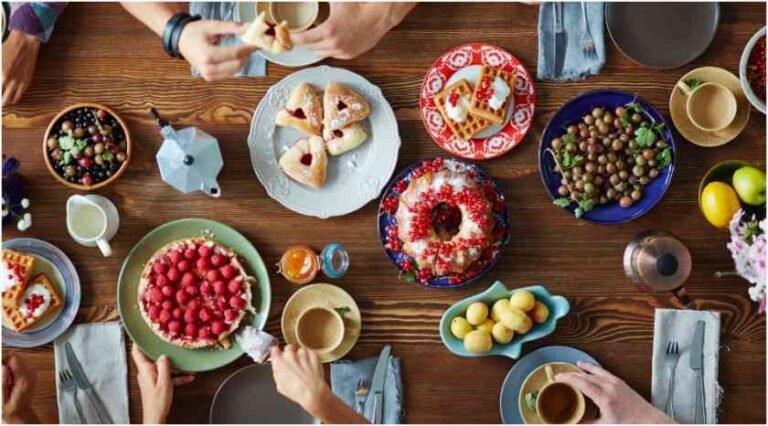
Mix shapes and textures. Combine a frosted cake with cupcakes, cookies, brownies, fruit, or candies. Mini portions work especially well because guests can sample several treats without creating too much waste.
Plan the Right Amount of Food
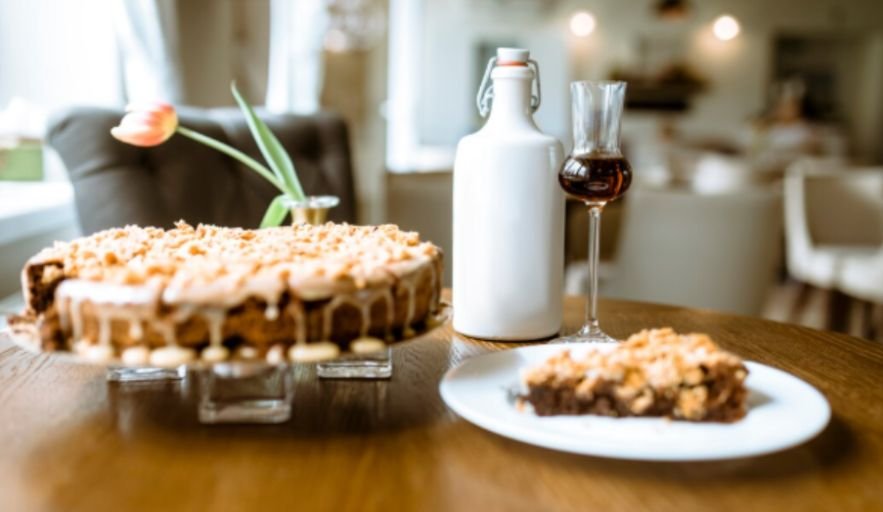
If cake follows a full meal, fewer extra sweets may be needed. If the table is the main dessert course, offer enough small portions for guests to try more than one item.
Prepare a little extra of popular treats, but do not use unnecessary food just to fill space. Risers, trays, flowers, and intentional gaps can create fullness without waste.
Make It Beautiful on a Budget
Shop your home before buying décor. White plates, glass bowls, wooden boards, jars, baskets, cake stands, and neutral platters can work together when the colors are consistent.
Use boxes beneath a tablecloth for hidden height. Reuse candles, ribbon, greenery, or small vases. Homemade cookies and brownies can balance the cost of a purchased centerpiece cake.
If cookies are part of the display, learning how to prevent cookies from spreading can help them keep a neater shape and more consistent appearance. Uniform cookies are easier to stack, arrange on trays, and style alongside cakes, brownies, and other desserts without making the table look uneven.
Style a Small Dessert Table
If space is limited, build upward instead of outward. One cake stand, a tiered tray, and two low platters can create a complete display on a narrow console.
Choose smaller serving pieces and avoid oversized decorations. Repeating the same colors across napkins, flowers, labels, and desserts will make everything feel connected.
Avoid Common Dessert Table Mistakes
Do not place everything at the same height or use too many unrelated colors. Avoid crowding the table, hiding desserts behind decorations, or leaving store packaging in view.
Keep delicate sweets away from heat, provide serving utensils, and label allergens when needed. A beautiful display should be practical as well as attractive.
Follow an Easy Setup Timeline
Several days before the gathering, choose the theme, colors, menu, backdrop, and serving pieces. Prepare make-ahead treats the day before.
On the event day, build the backdrop and risers first. Add serving dishes and shelf-stable desserts. Put refrigerated or delicate items out closer to serving time, then finish with flowers, greenery, candles, or small accents.
Frequently Asked Questions
1. How to create a beautiful dessert table at home on a budget?
Use dishes you already own, limit the color palette, create height with hidden boxes, and make simple desserts yourself. Spend only on one high-impact feature such as the cake, flowers, or backdrop.
2. What should be the centerpiece?
A decorated cake is traditional, but a cupcake tower, pie, trifle, floral display, or tiered dessert stand can also create a strong focal point.
3. How many types of desserts should I serve?
Three to five choices are usually enough. One centerpiece dessert plus several smaller treats creates variety without making preparation difficult.
4. How can I make the table look expensive?
Use coordinated colors, clean serving pieces, varied heights, intentional spacing, and one strong focal point. Removing packaging and unnecessary clutter instantly makes inexpensive desserts look more polished.
A Sweet Ending Worth Remembering
I think the best dessert tables feel welcoming rather than perfect. When I focus on a theme, varied heights, practical serving details, and a few carefully chosen sweets, decorating becomes easier.
Thoughtful spacing and creative presentation matter more than buying lots of decorations. With simple planning, an ordinary table can become one of the most memorable parts of the celebration.